![]()
Introduction
In the ng spanish menu repo, I created some Angular components and storybooks for the application. I thought it would be an excellent idea to deploy the storybooks to Chromatic to share with other Angular developers for feedback.

Install Chromatic dependencies
npm i --save-dev chromaticCreate Chromatic app for Github repository
- Sign in with Github account
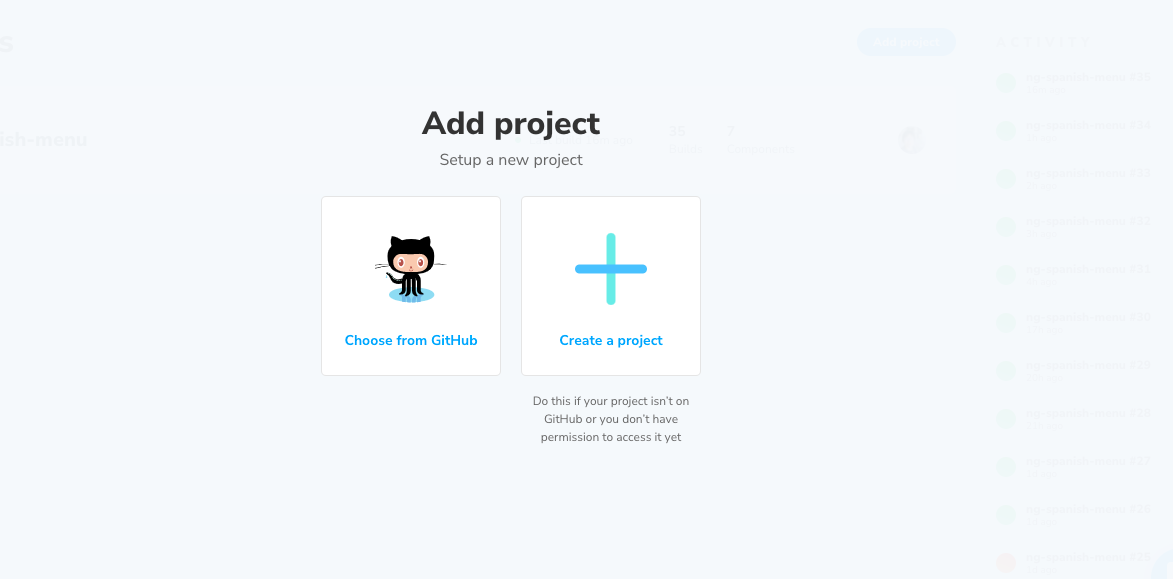
- Choose a project to add to Chromatic and set up npm script in package.json for publication
"scripts": {
    "chromatic": "npx chromatic --project-token=<Chromatic project token>",
}- Run
"npm run chromatic"to manually publish build 1
Whenever we finish the design of components and test thoroughly in Storybook, we can publish them to Chromatic with the script.
However, the process is manual and interrupts developers’ concentration on coding. Developers’ time is valuable and developers should focus on building application rather than manual devOps. Therefore, we should leverage the Github action of Chromatic to automate it’s publish process.
Automate Chromatic with Github action
First, add a new repository secret to store the Chromatic project token.
Go to Settings -> Secrets -> Actions -> New repository secret,
Name: CHROMATIC_PROJECT_TOKEN
Value: <the project token seen in chromatic script>
Second, in .github/workflow directory, create a main.yml that uses the Chromatic action
// main.yml

name: CI
on:
  push:
    branches:
      - main
jobs:
  deploy:
    runs-on: ubuntu-latest
    steps:
      - name: Checkout
        uses: actions/checkout@v2
        with:
          persist-credentials: false
          fetch-depth: 0 # 👈 Required to retrieve git history

      - name: Setup node 14
        uses: actions/setup-node@v1
        with:
          node-version: 14.x

      - name: Publish to Chromatic
        uses: chromaui/action@v1
        # Chromatic GitHub Action options
        with:
          token: ${{ secrets.GITHUB_TOKEN }}
          projectToken: ${{ secrets.CHROMATIC_PROJECT_TOKEN }}
          exitZeroOnChanges: true
          autoAcceptChanges: true
exitZeroOnChanges and autoAcceptChanges are optional properties and can be included depending on use cases.
exitZeroOnChanges: Option to prevent the workflow from failing
autoAcceptChanges: Option to accept all changes
Publish Storybook
Next, Make changes in the project and push codes to Github repository to trigger Github action to run.


Build passed and new changes were auto-accepted.
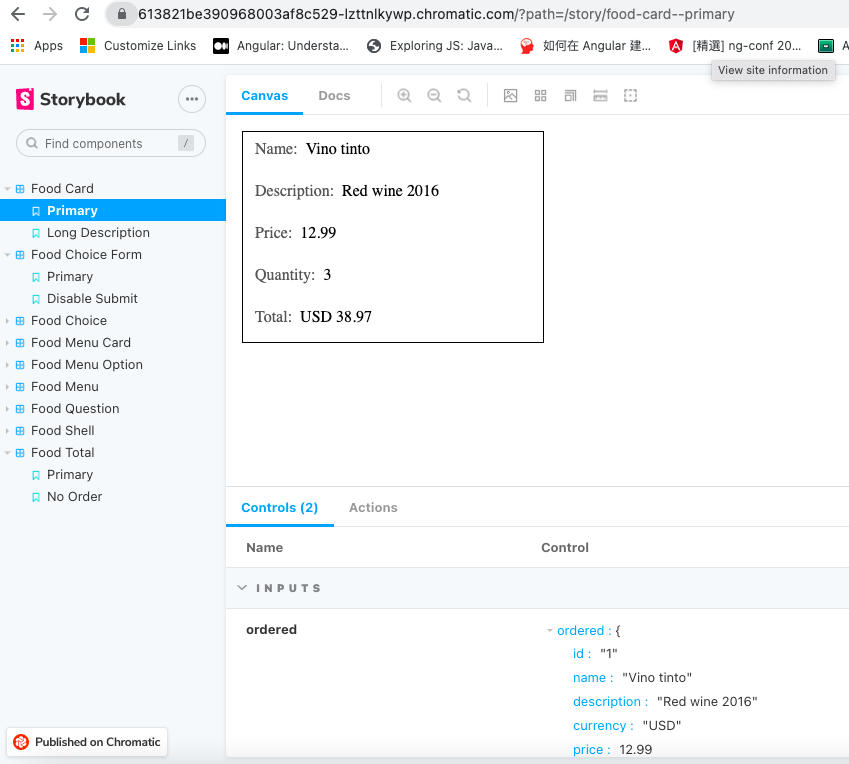

Finally, Select storybooks on the side menu to display components and interact with input fields to confirm outputs and events are emitted.
This is the end of the blog post and I hope the contents explain the necessary procedure to publish storybooks to Chromatic and share the static app in team for review and collaboration.

Resources:
- Repo: https://github.com/railsstudent/ng-spanish-menu
- Chromatic Application: https://613821be390968003af8c529-lzttnlkywp.chromatic.com
- Deploy Storybook: https://storybook.js.org/tutorials/intro-to-storybook/angular/en/deploy/
- Automate Chromatic with Github Action: https://www.chromatic.com/docs/github-actions